QA Management
Manage knowledge units in a structured way.
1. QA Search
Enter your search query in the top search bar and press Enter. Each blue-framed box in the results represents a knowledge unit, displayed as a Question-Answer pair (QA). Blue rounded rectangles represent tags, and the light gray text shows the QA source.Note: This search uses vector-based semantic search, which is different from traditional keyword search. It searches by understanding the meaning of your input. For example, searching for “desk lamp” may also return related content like “appliances.”
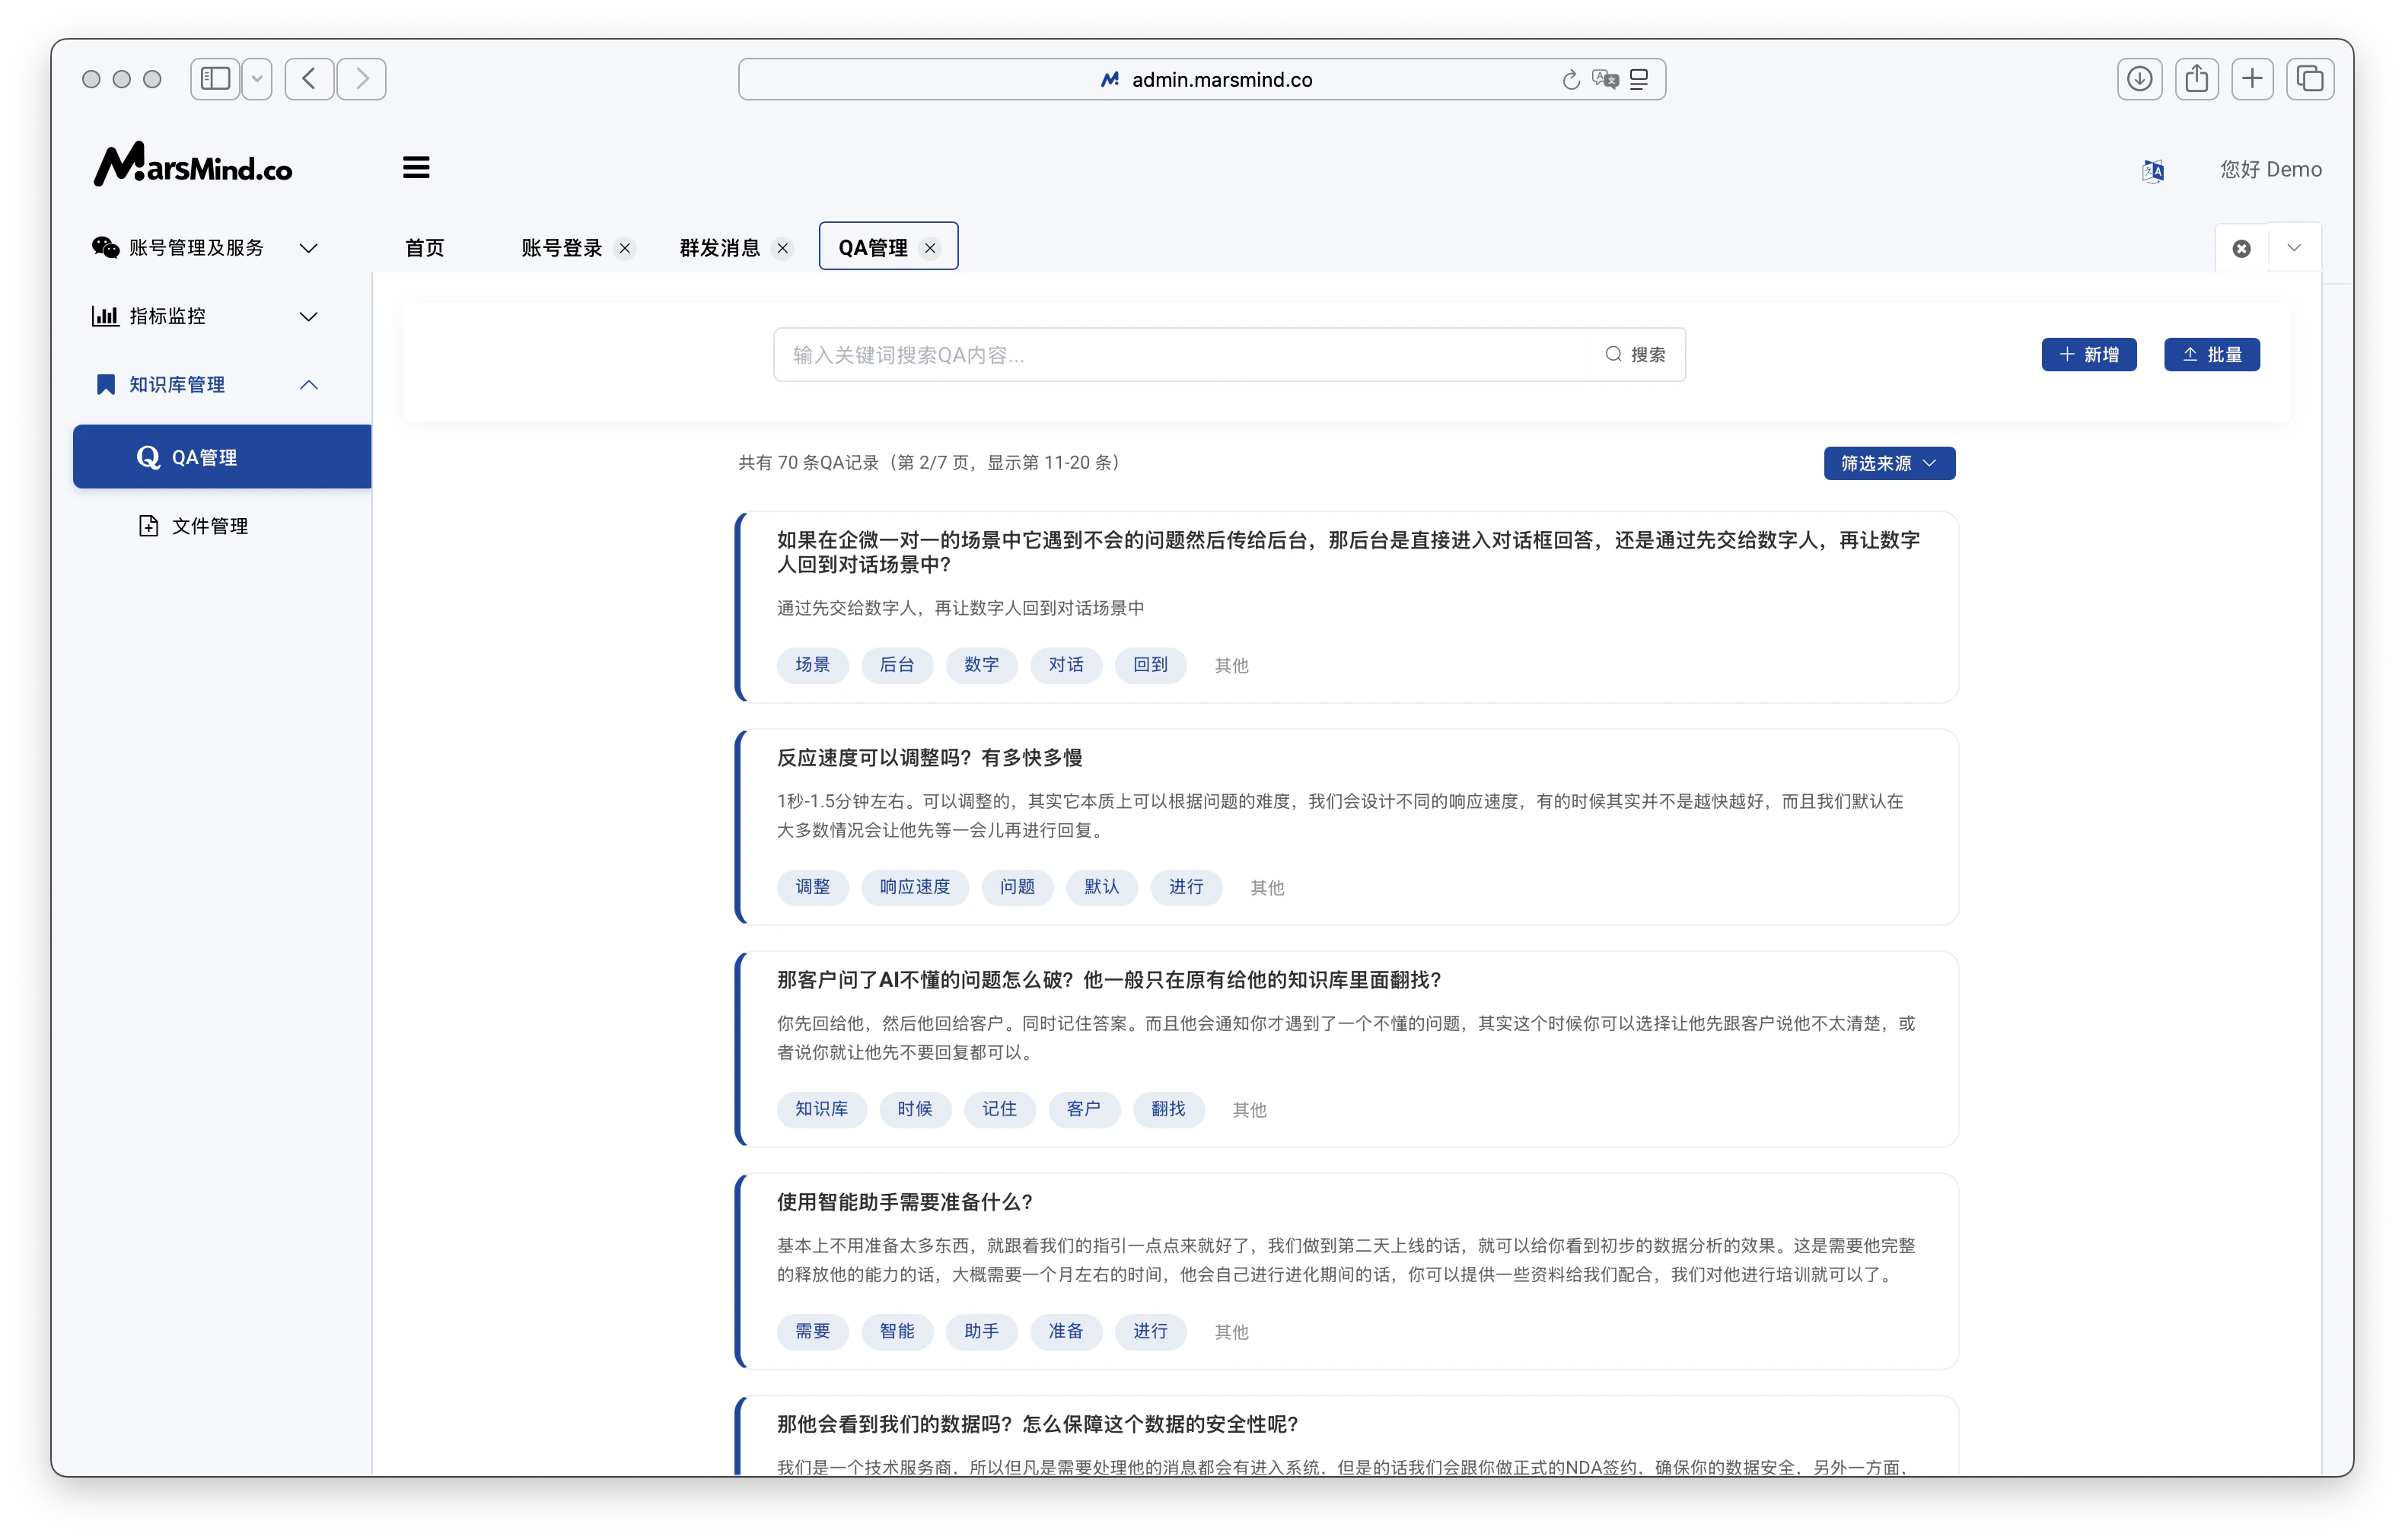
- If you have a large number of documents, use the filter on the right to further narrow down results by QA source.
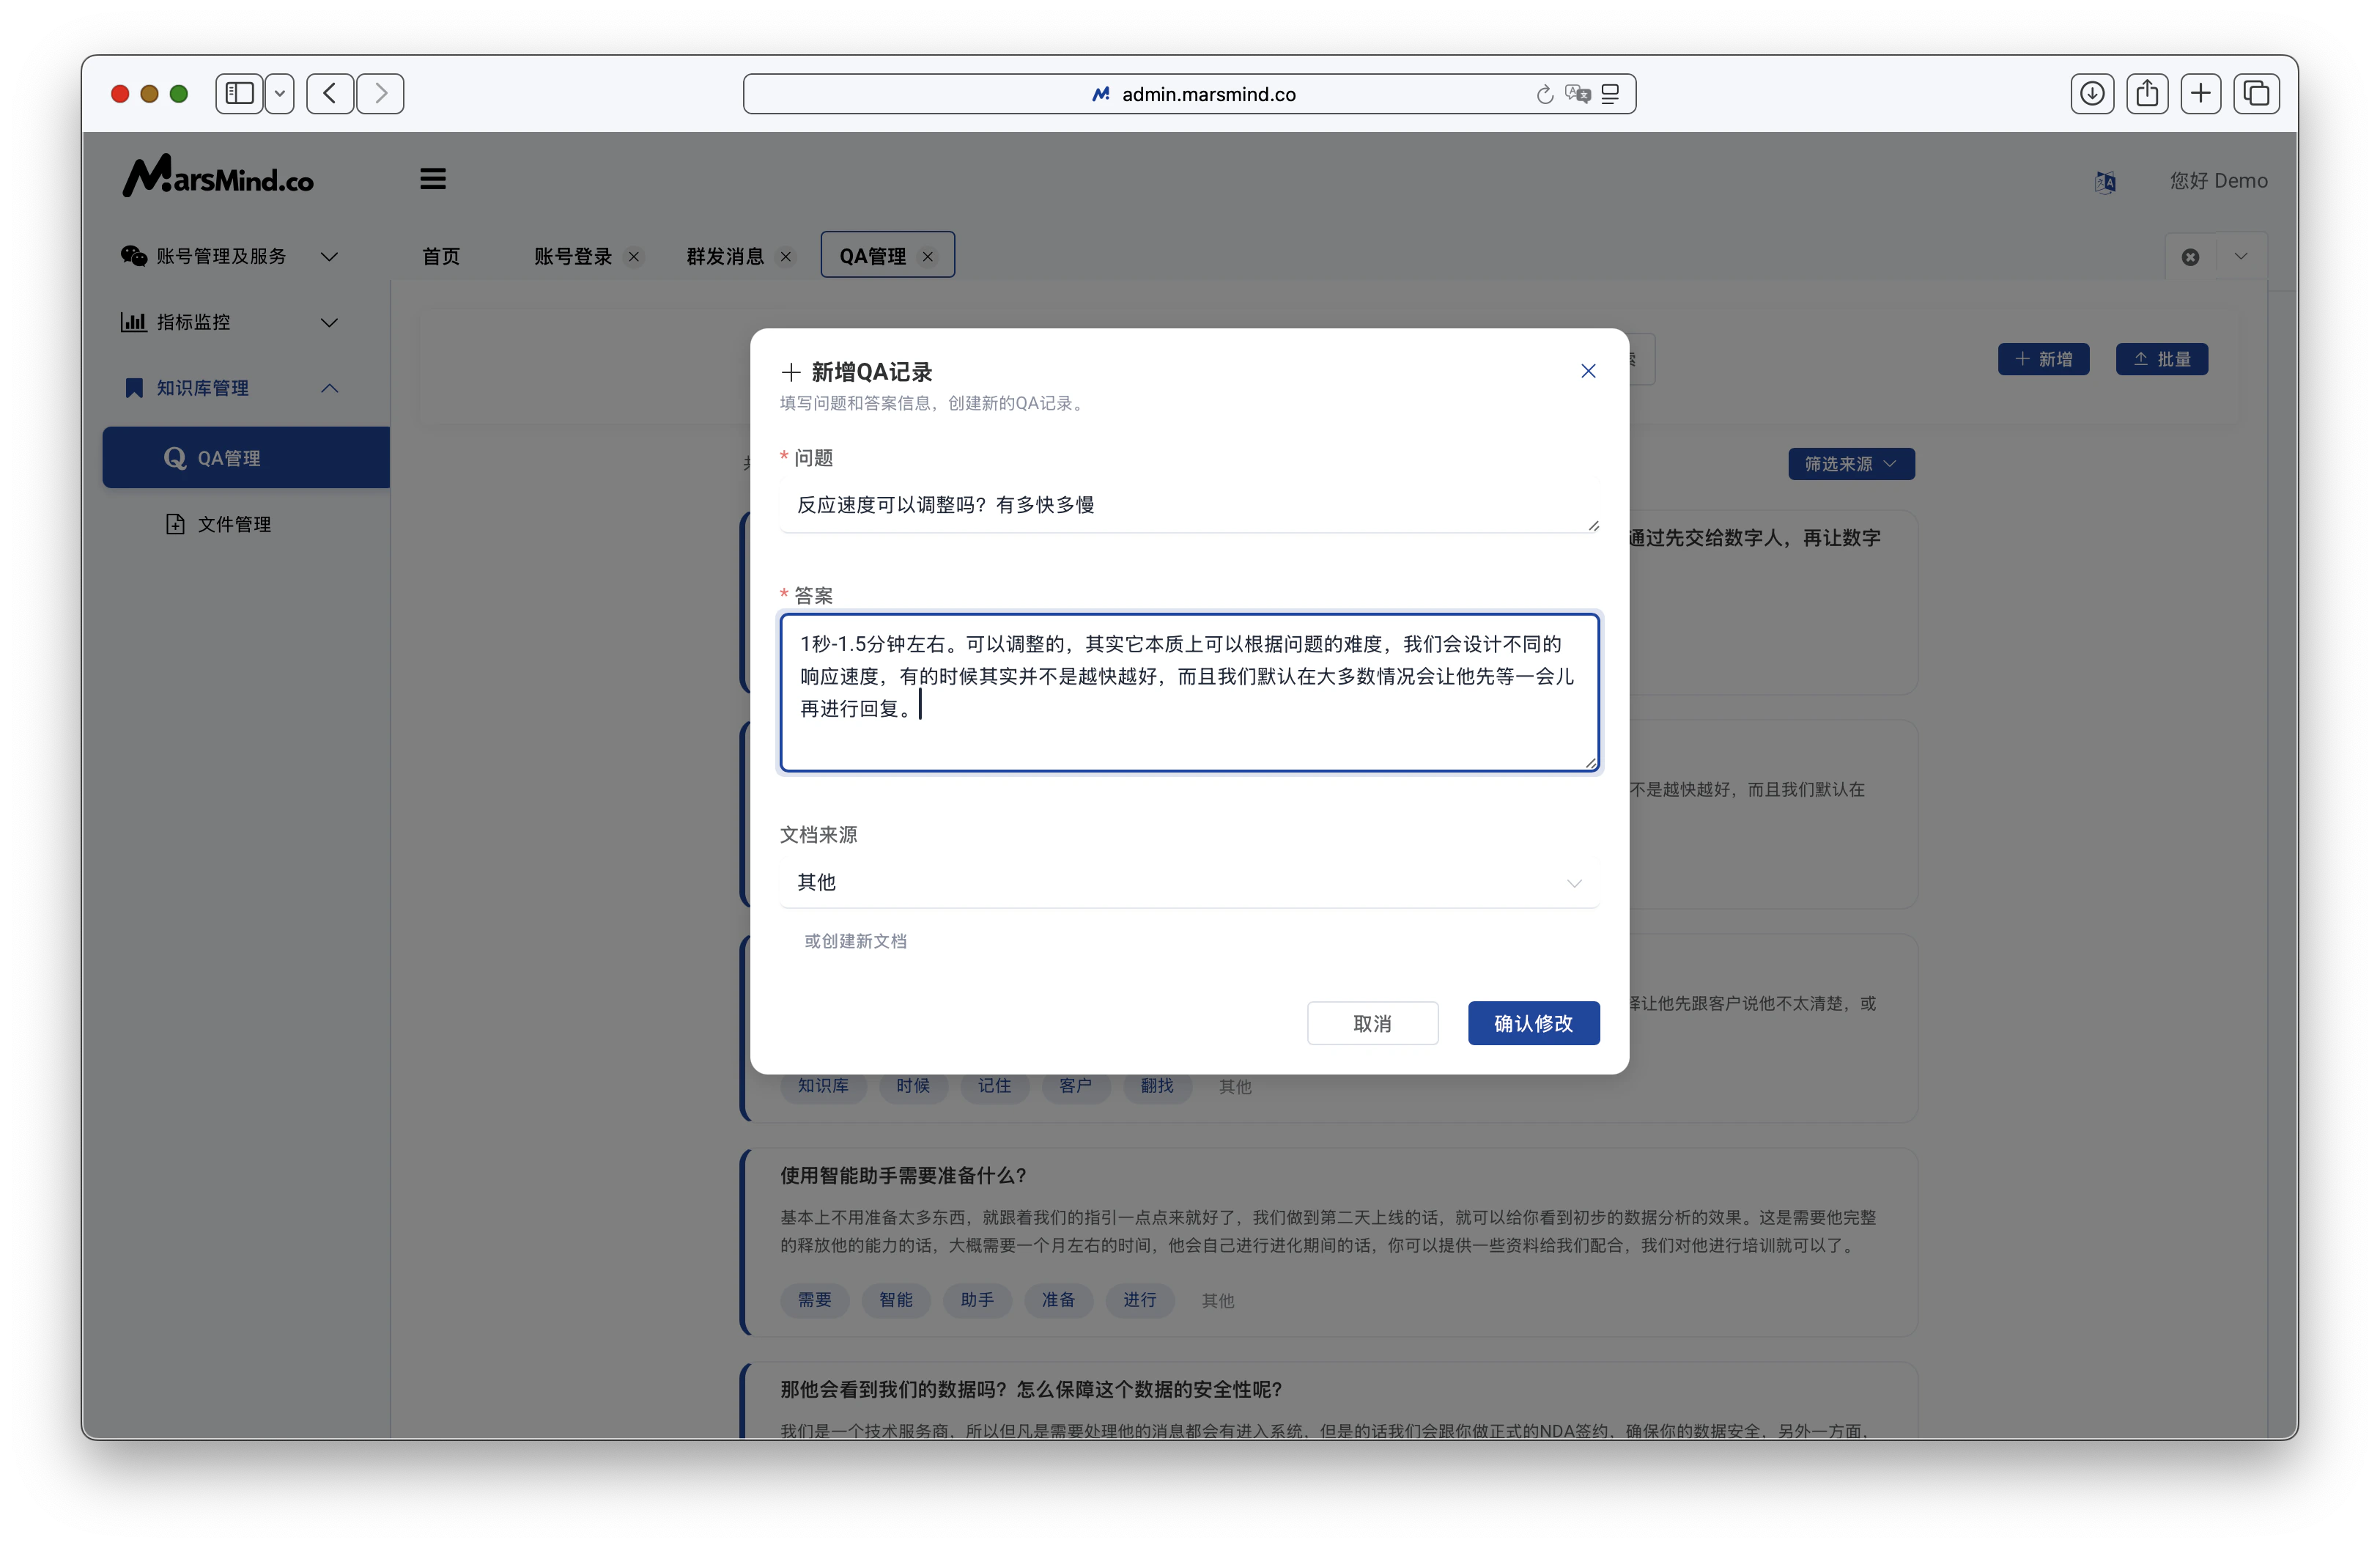
2. QA Editing
- Double-click the QA you wish to edit to open it. Alternatively, use the edit or delete icon in the lower right corner of each QA to open the edit dialog.
- If the edit box is too small, you can drag the bottom right corner to resize it. You can freely expand and scroll to make editing easier.
- You can edit the question, answer, and document source. For document source, you may create a new document or select an existing one to save the QA.
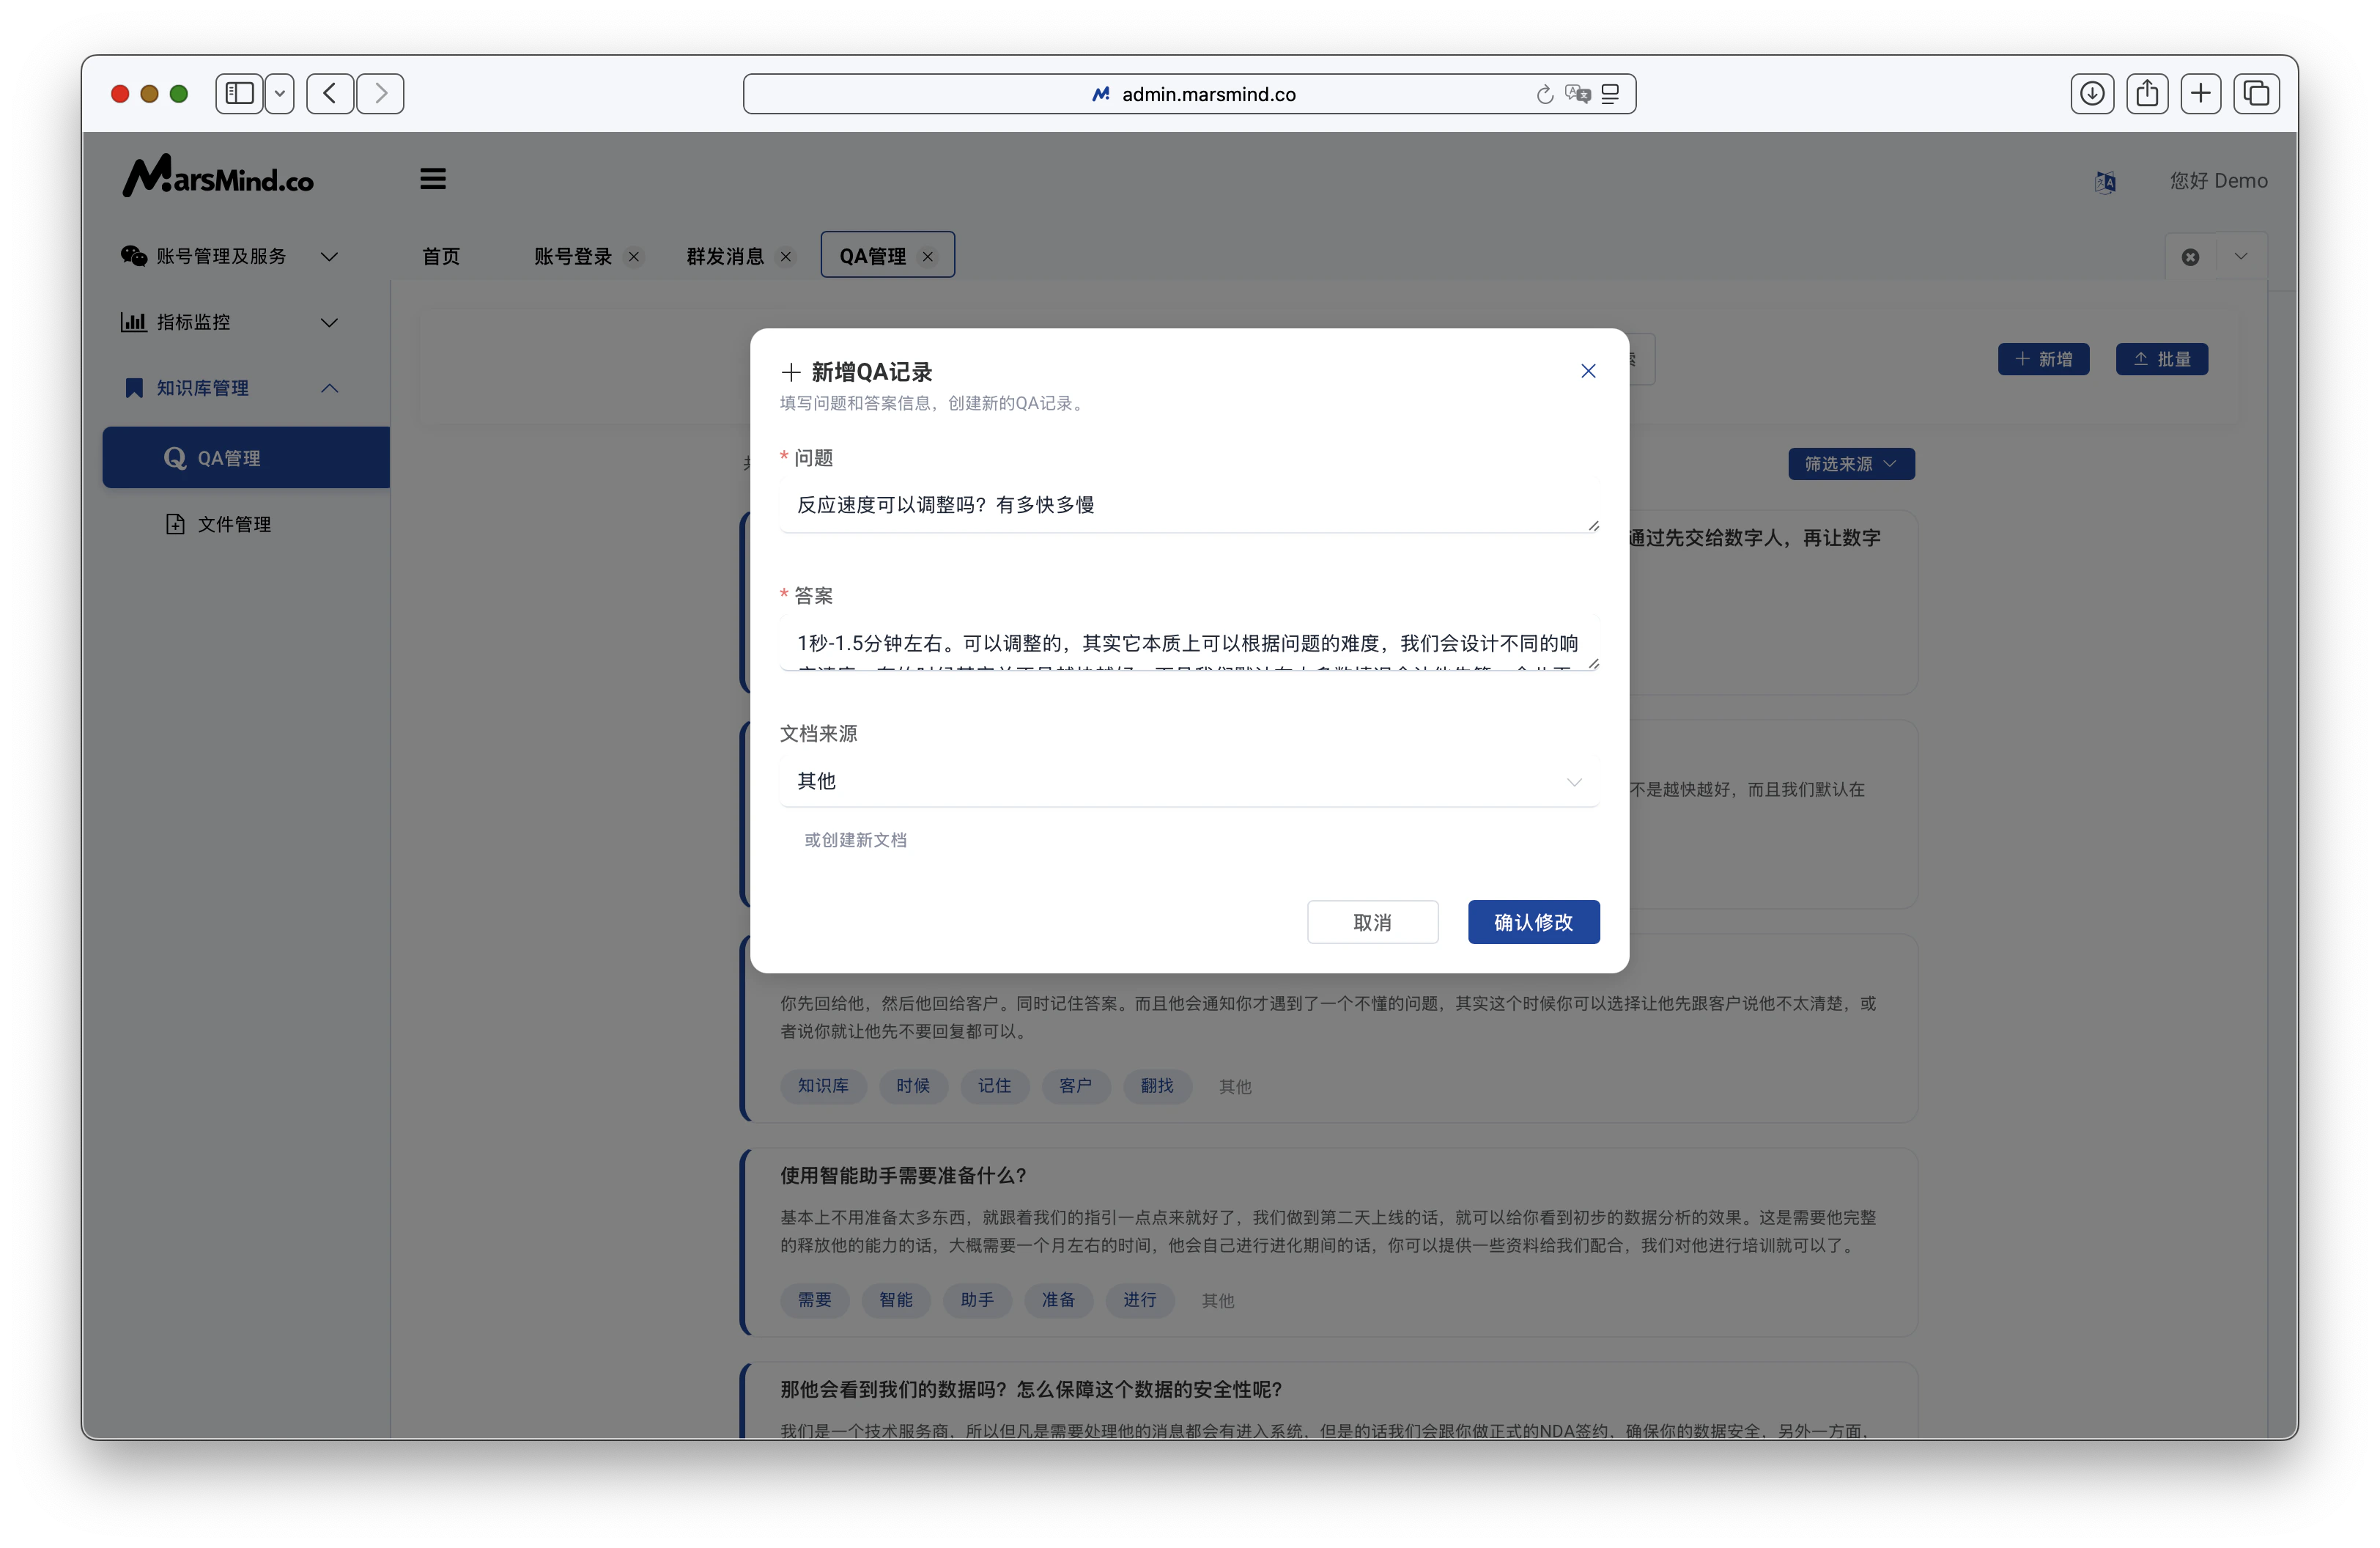
3. Adding QA
Use the “Add” button in the upper right corner to add a single QA, or use the “Batch” button to add multiple QAs at once.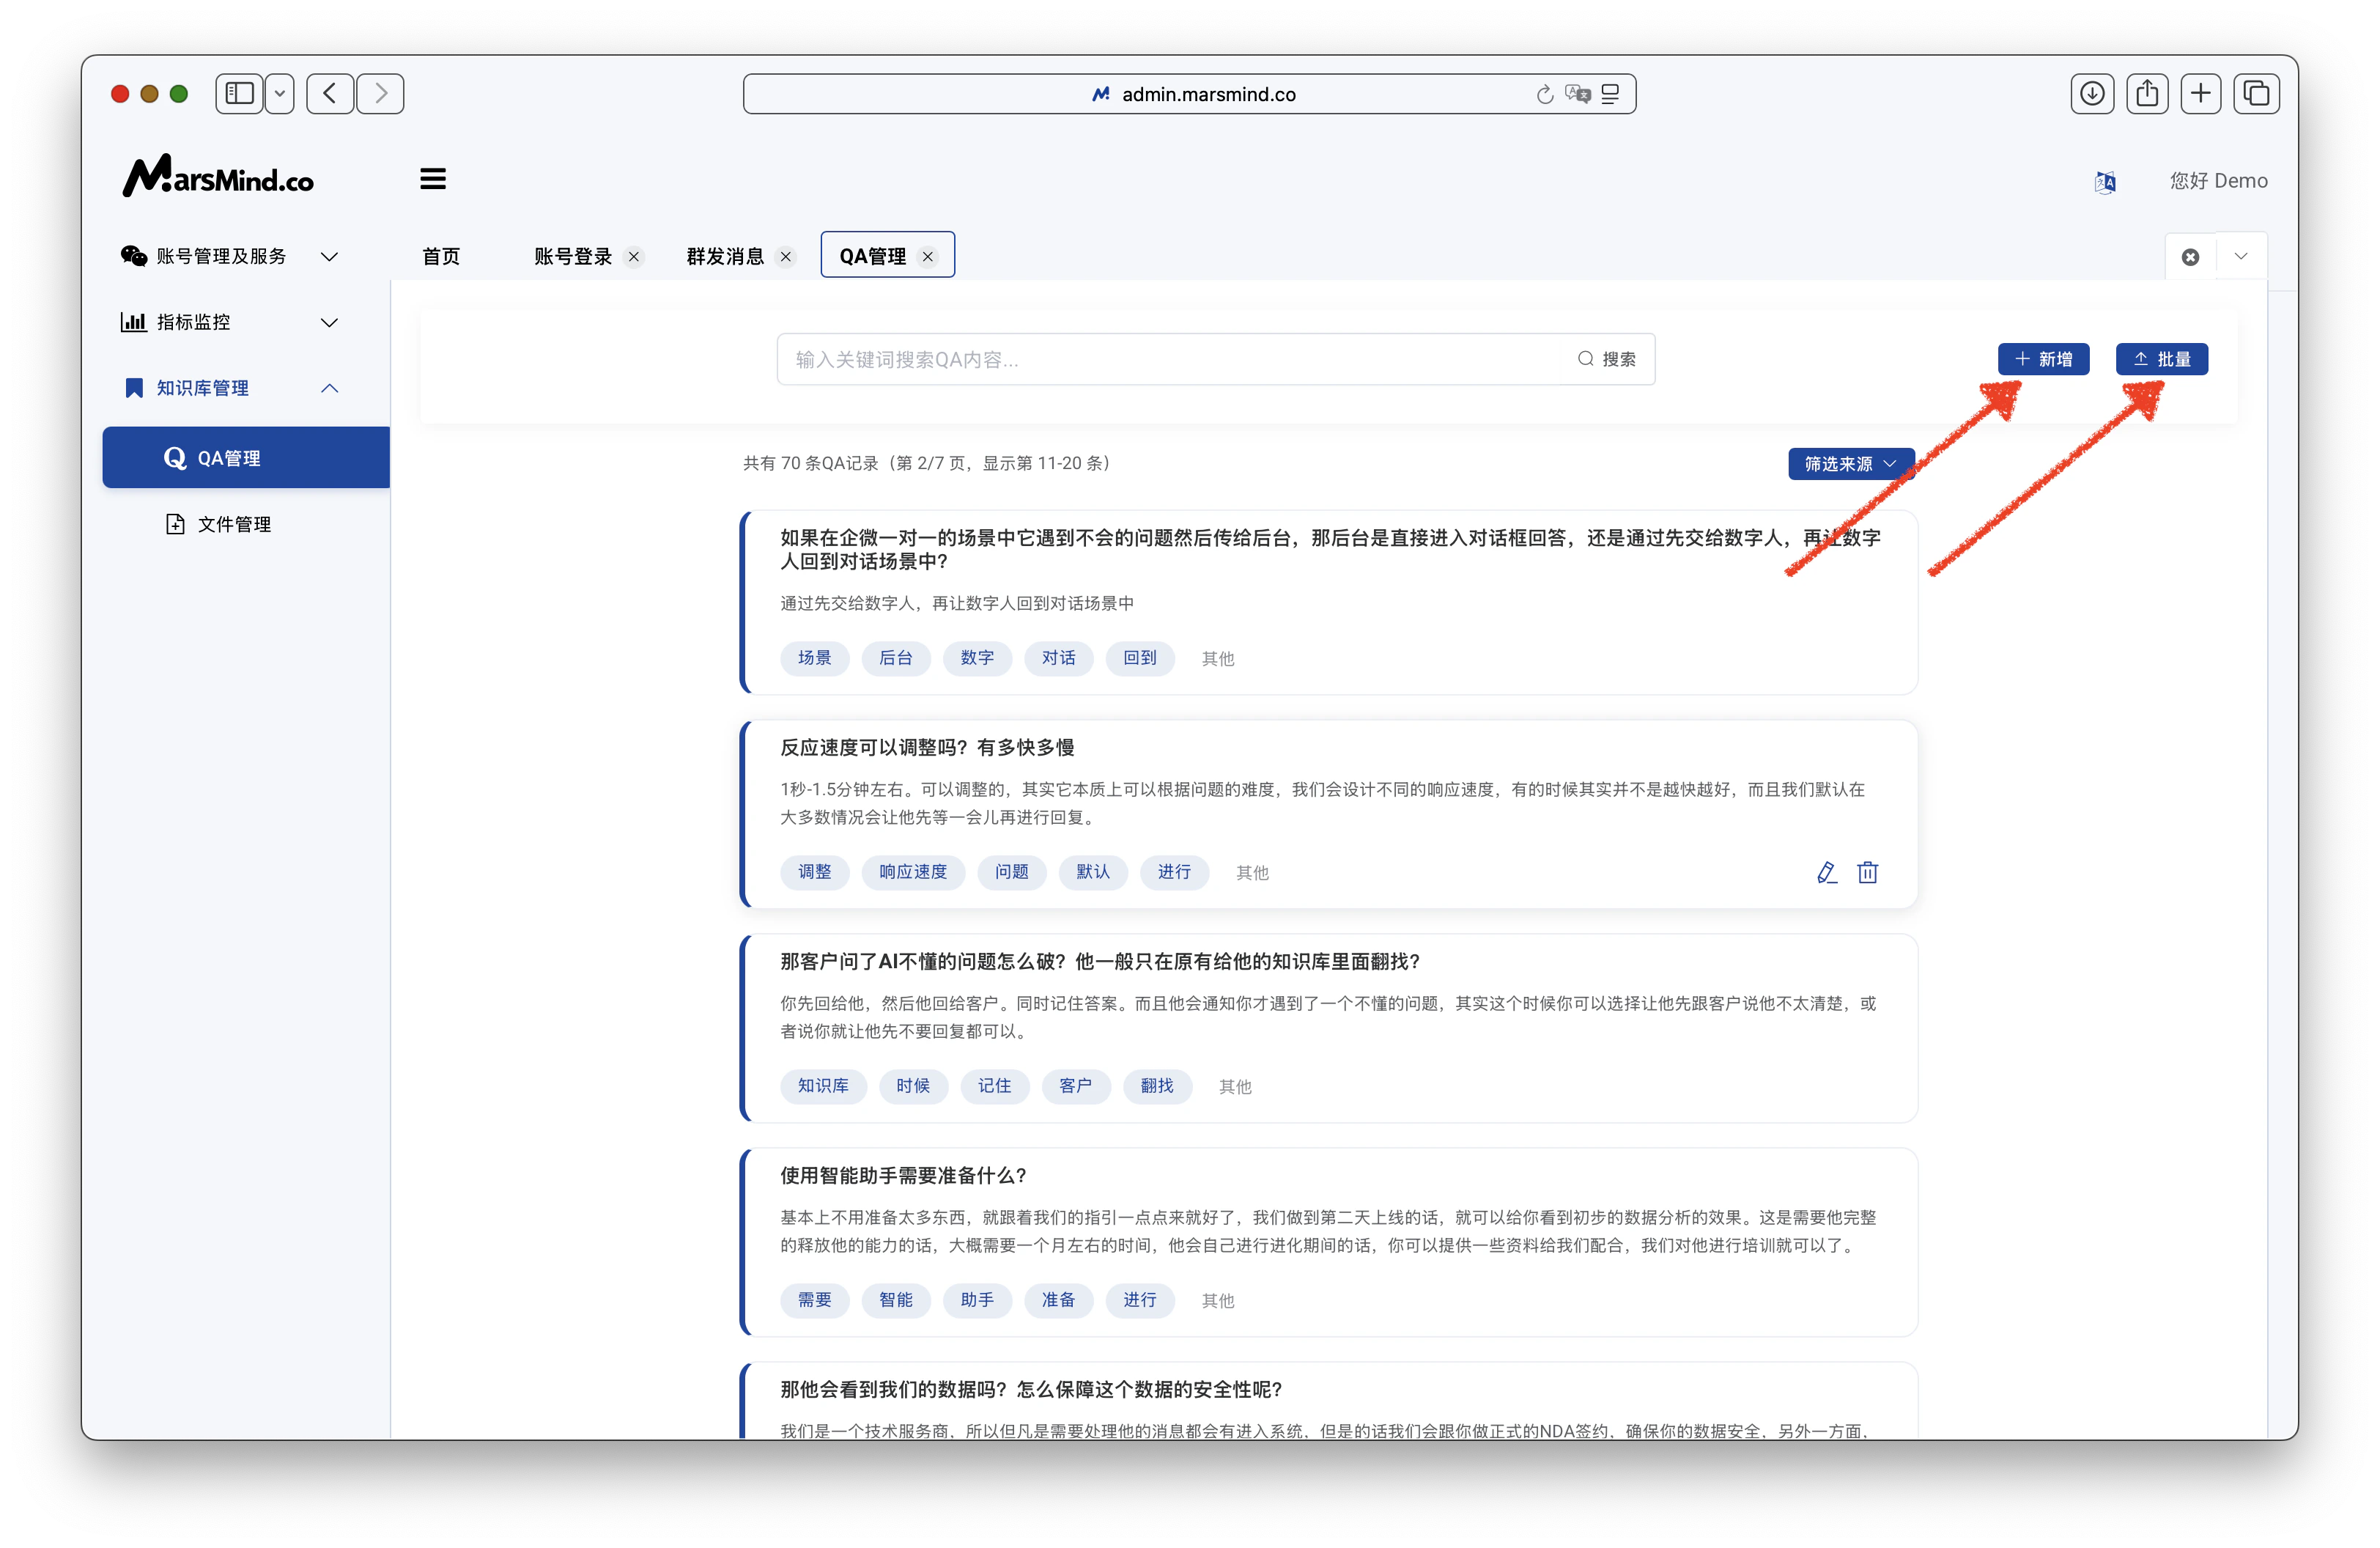
Add a Single QA
Click “Add” to open the new QA entry window. After editing, you can choose “Save and Continue” to keep adding single QAs, or click the dark blue “Add QA” button to add just one.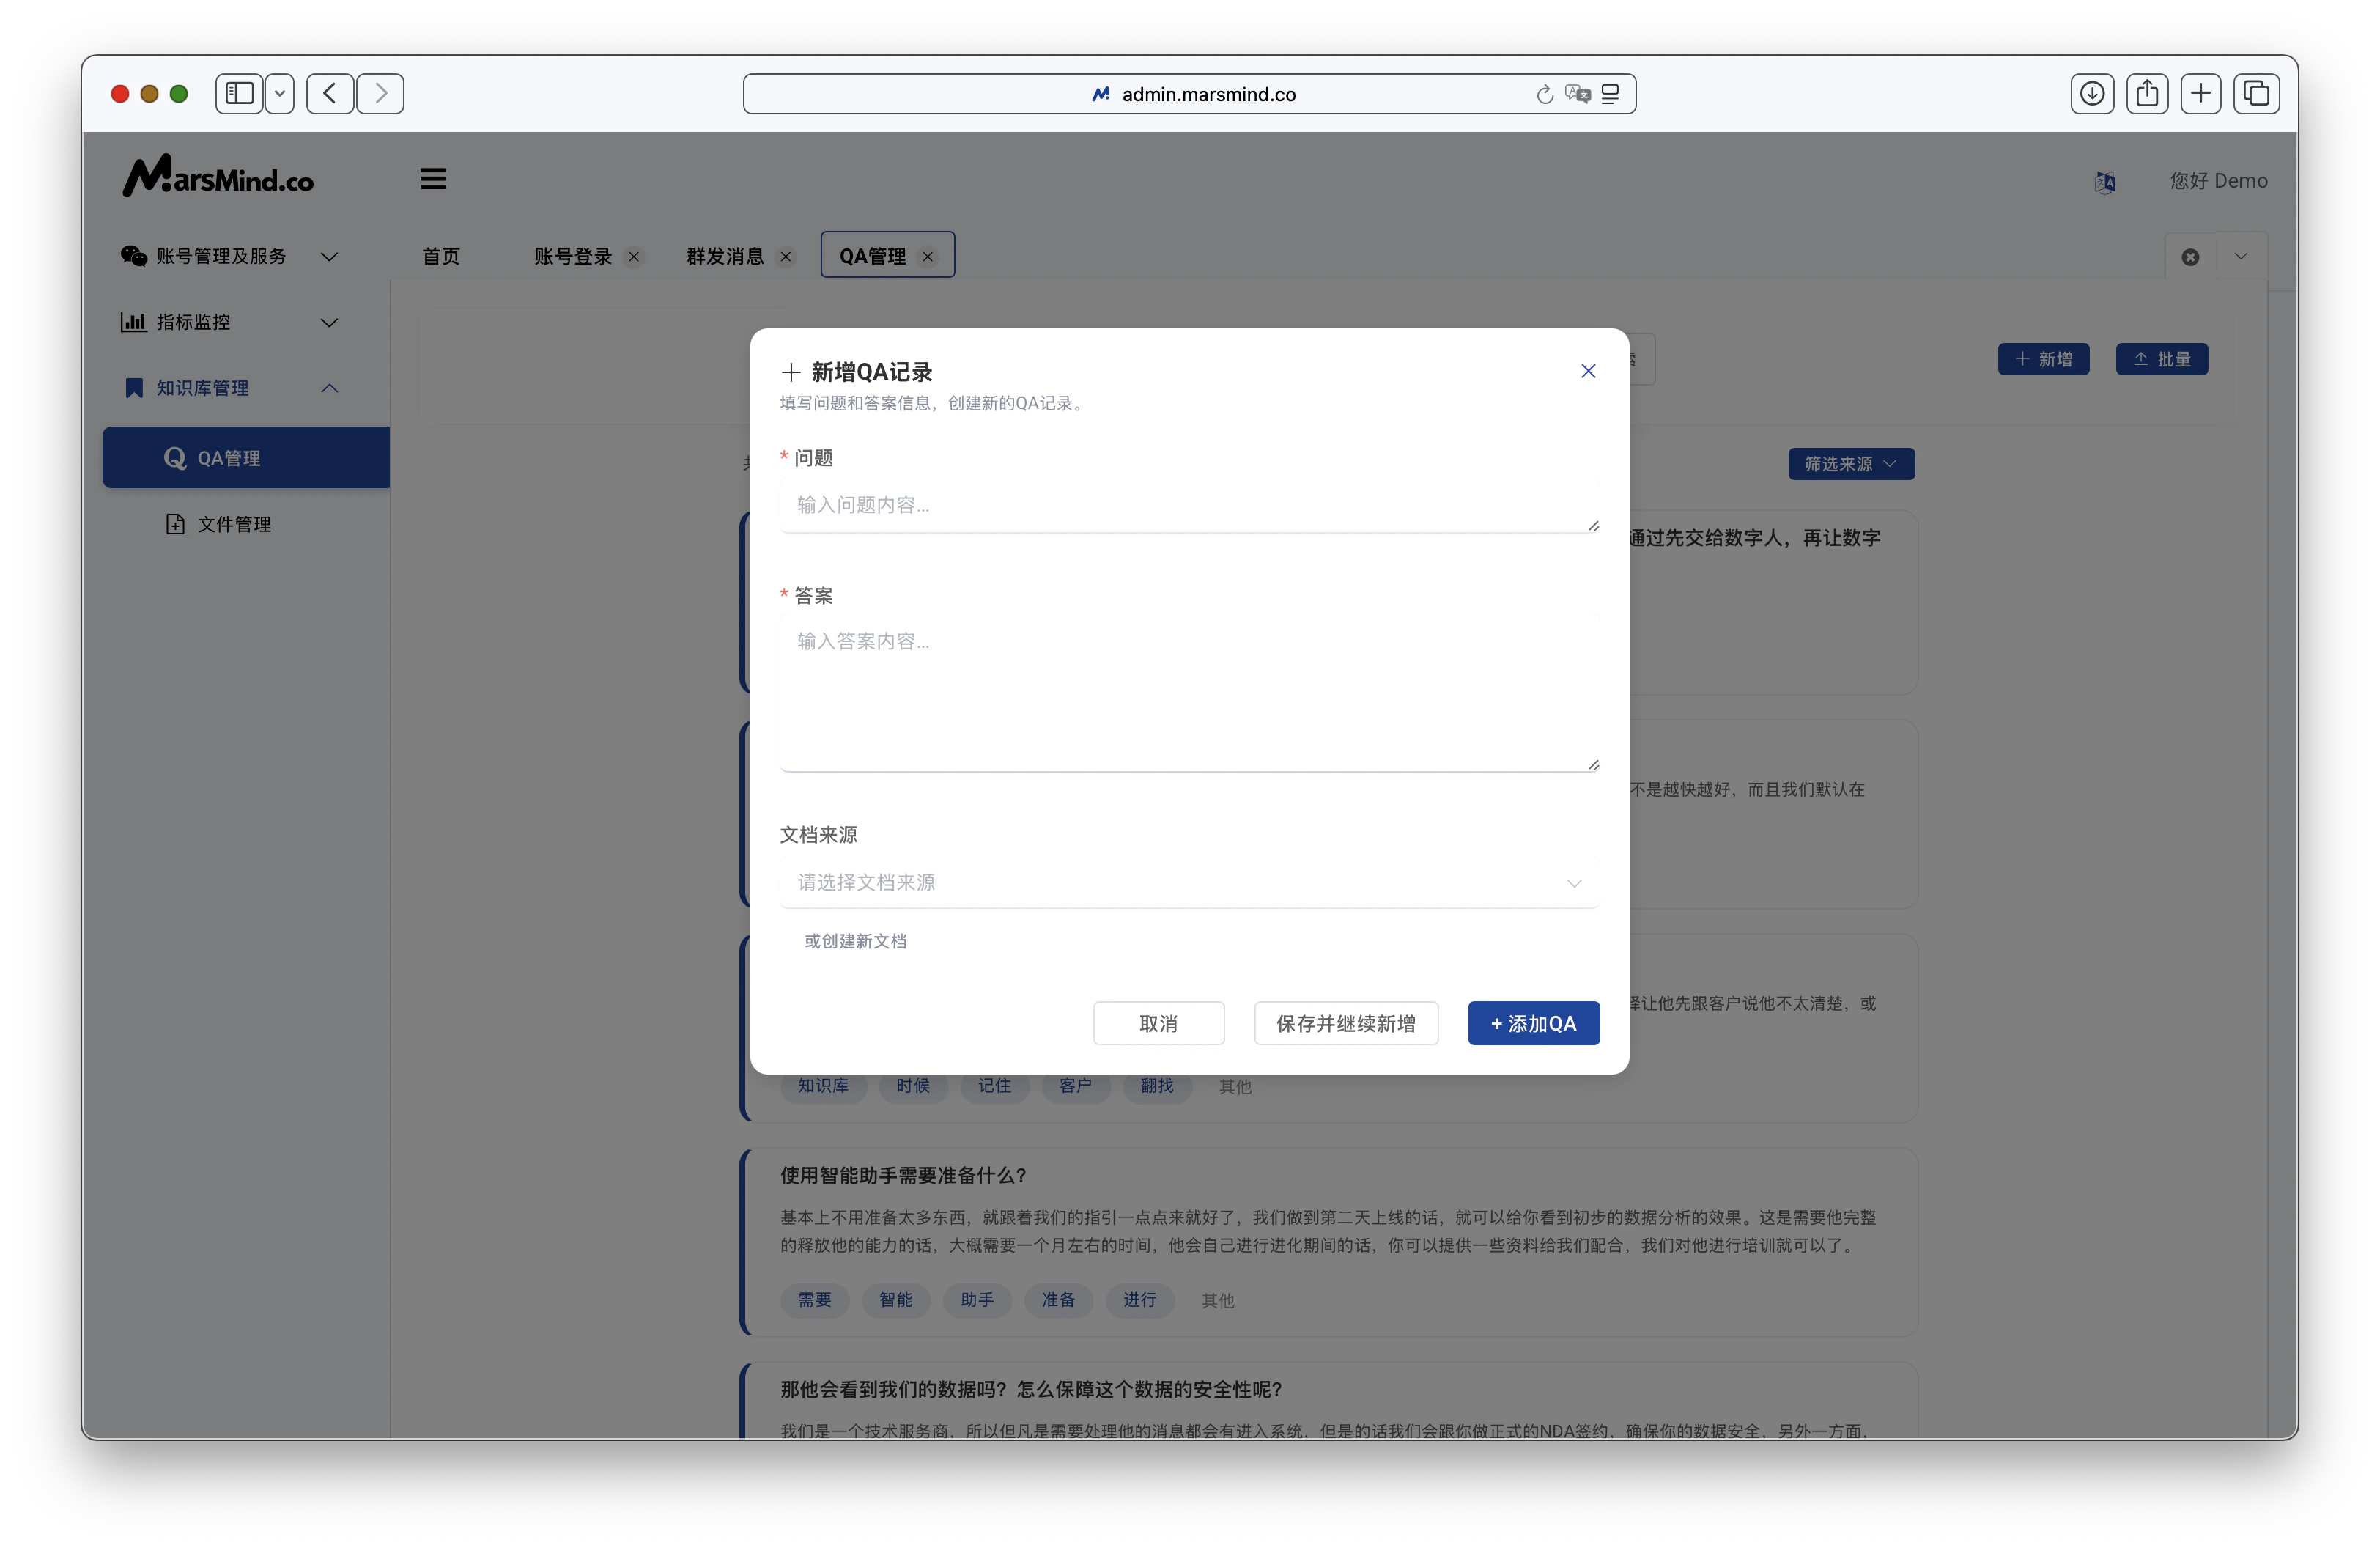
Batch Add QAs
- Click the “Batch” button to open the batch QA upload dialog.
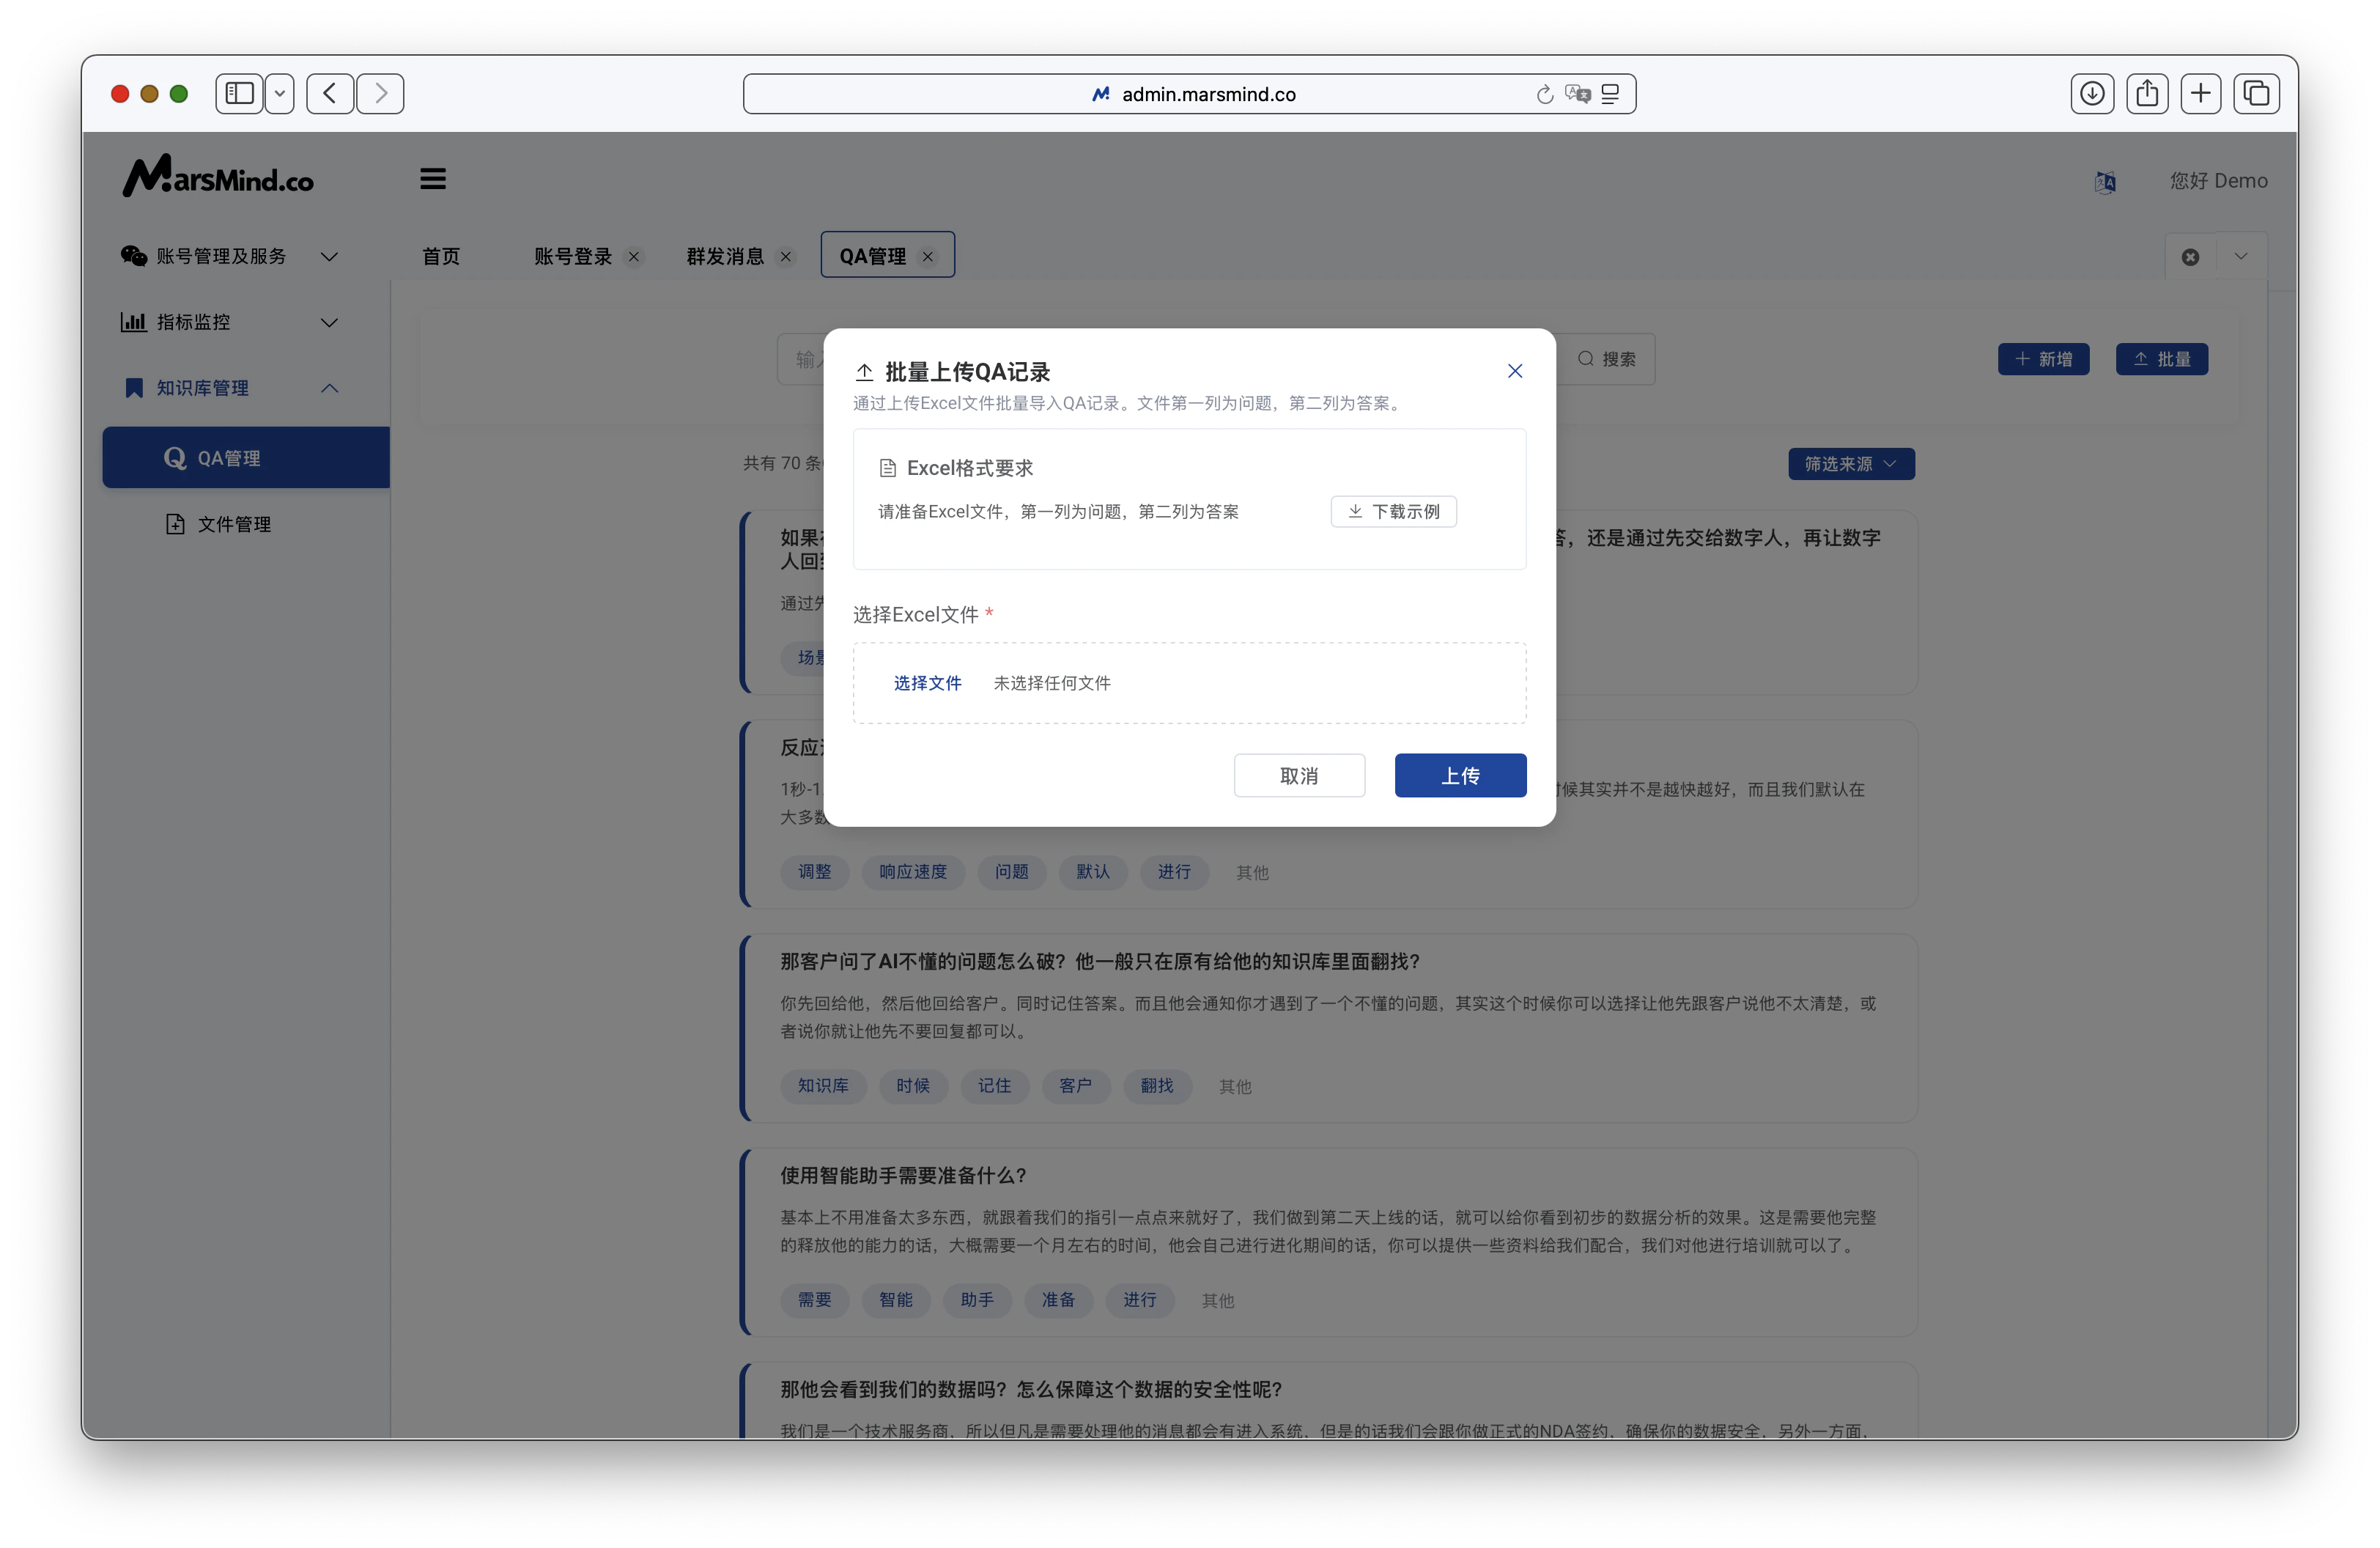
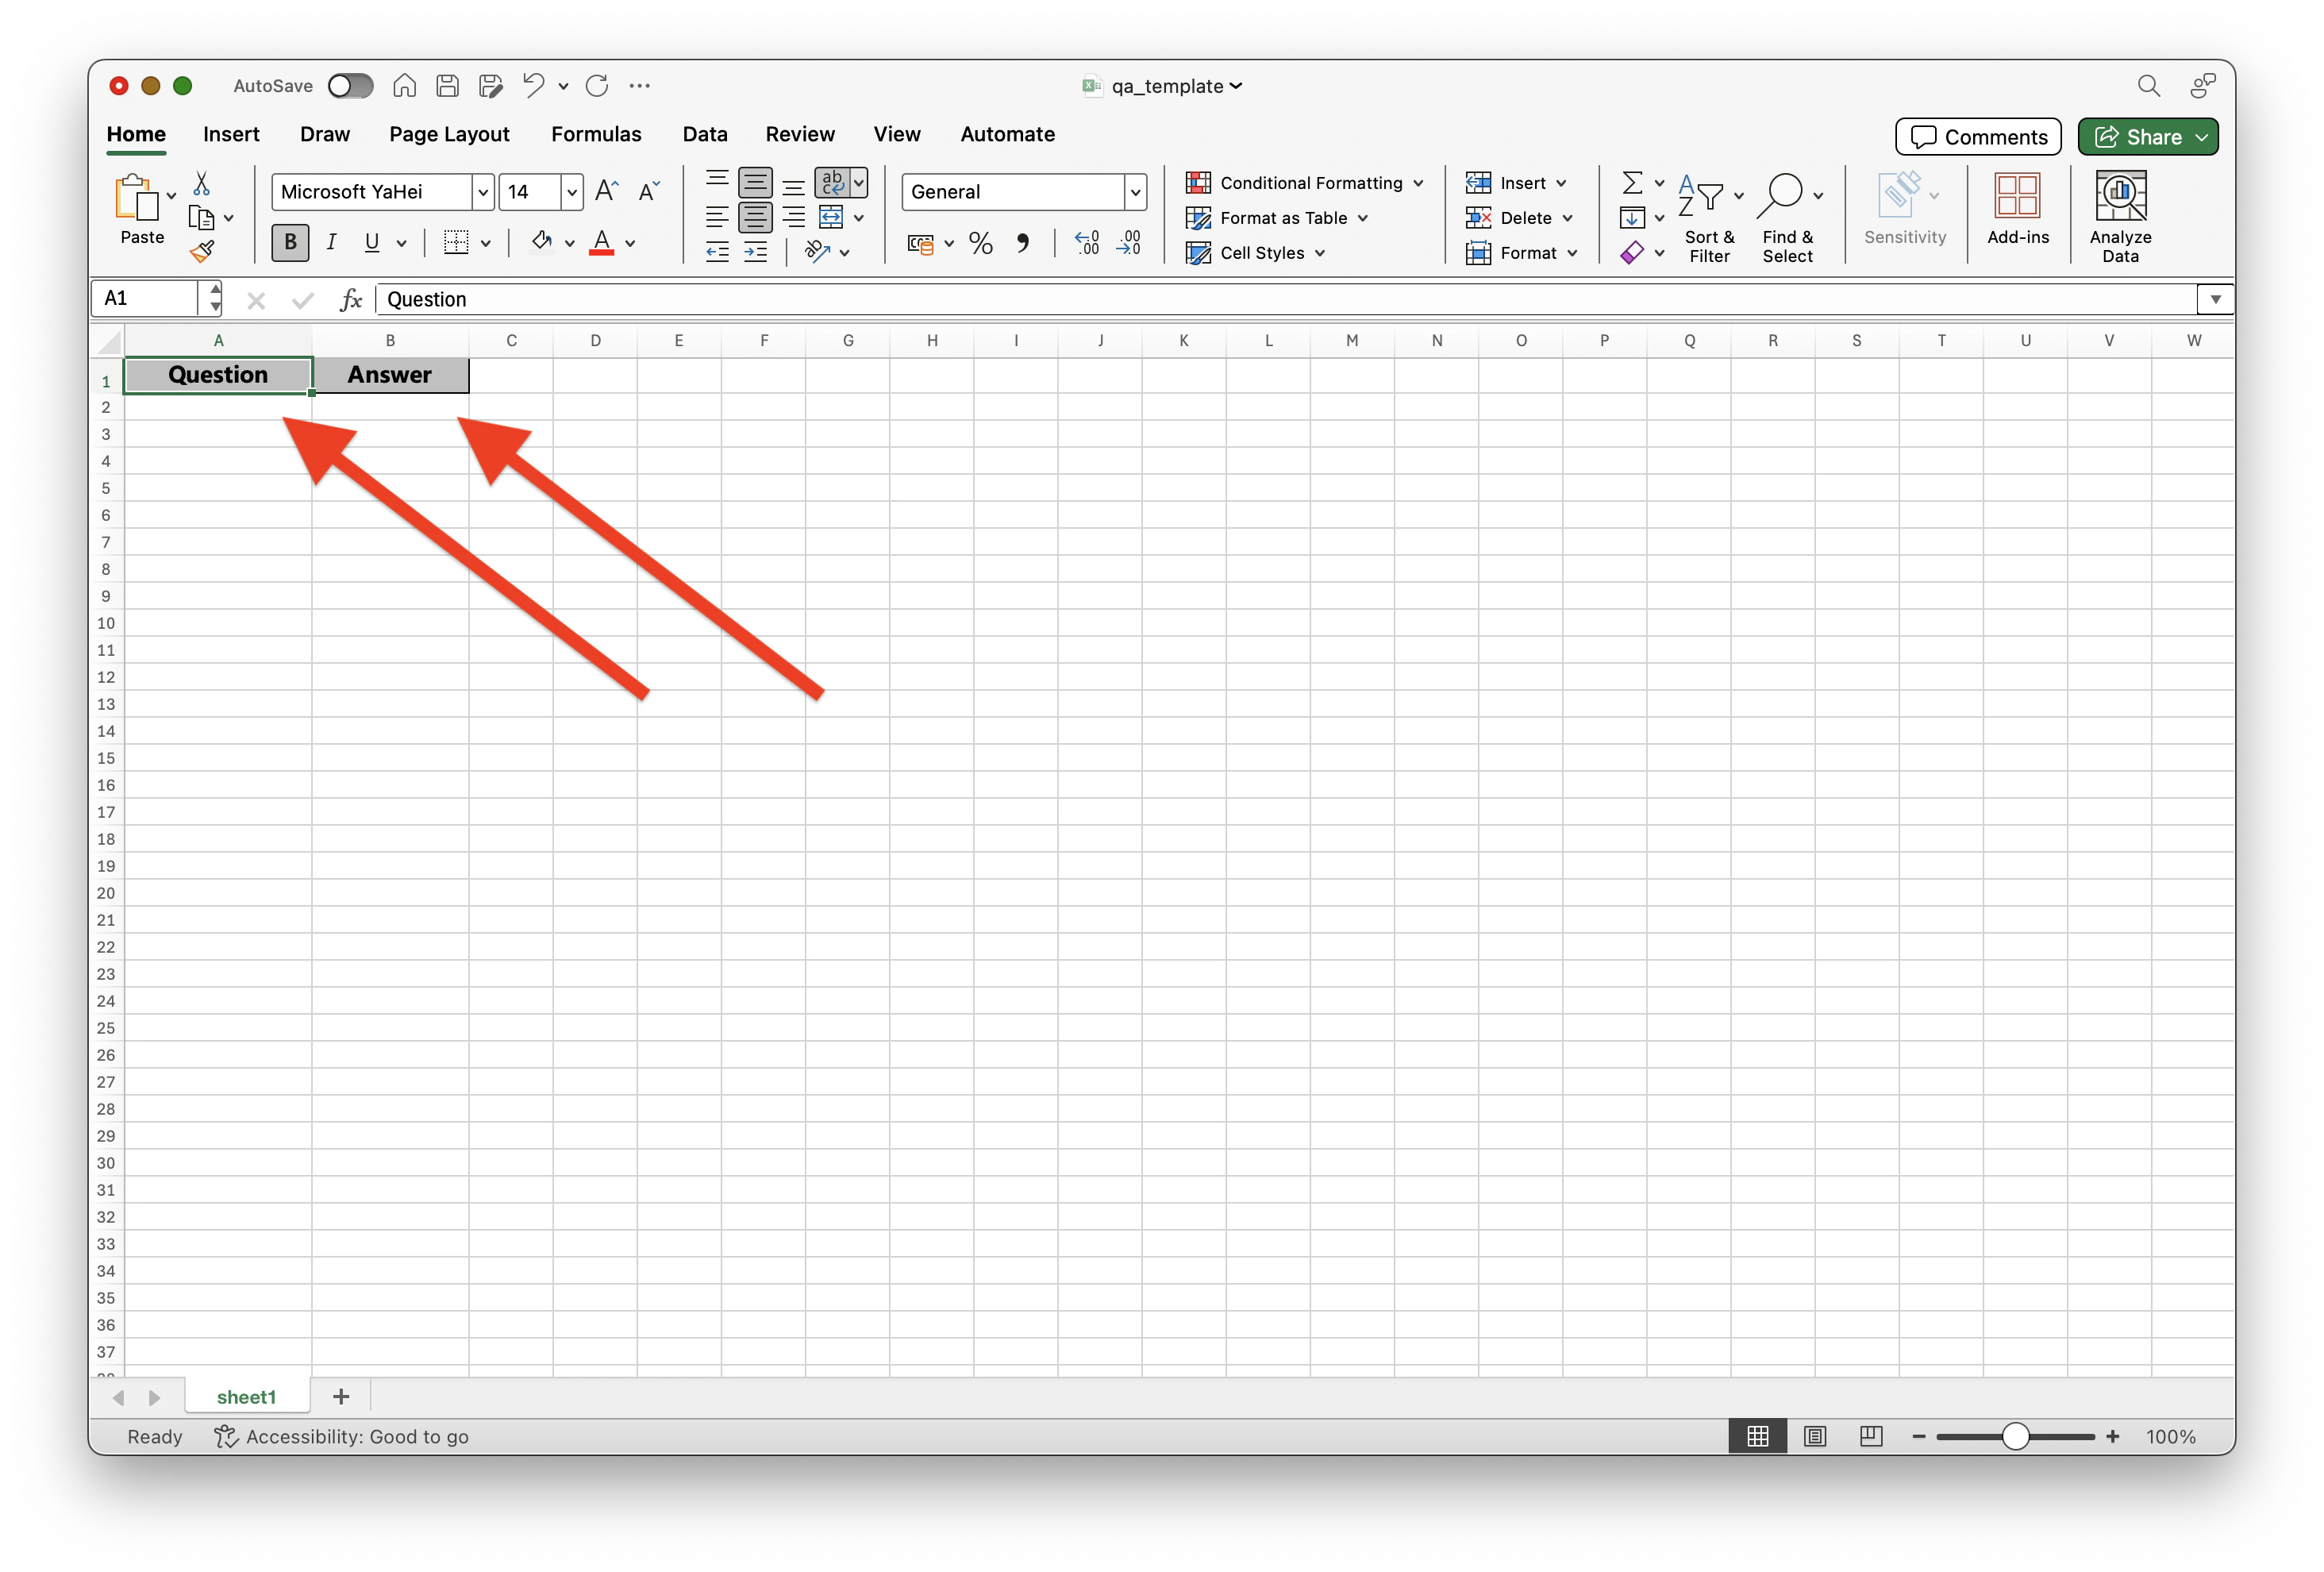
- If this is your first time, you can download a sample Excel template. Start from the second row and enter your questions and answers—each row should contain one question and its corresponding answer. After editing, save your document and prepare it for upload.
- Select the file you want to upload and click the “Upload” button. The batch QA import will then be complete.